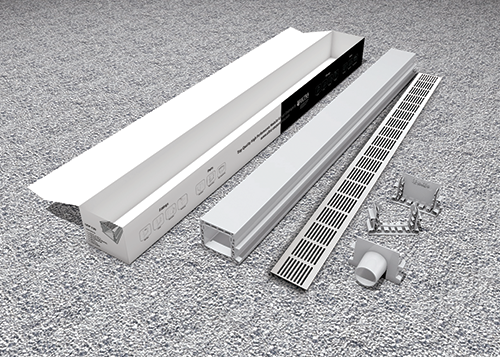
Carefully store the Ultra Drain Plus Alloy grating away from the construction site until all the concreting and tiling has been completed.
DO NOT REMOVE the construction cover insert from the Ultra Drain Plus base.
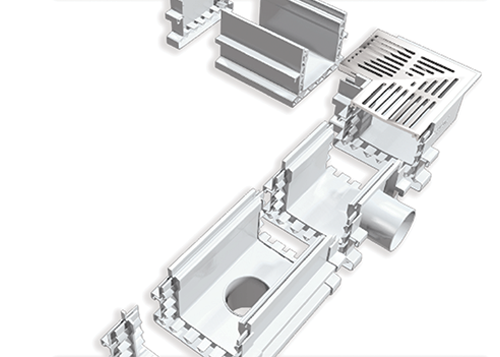
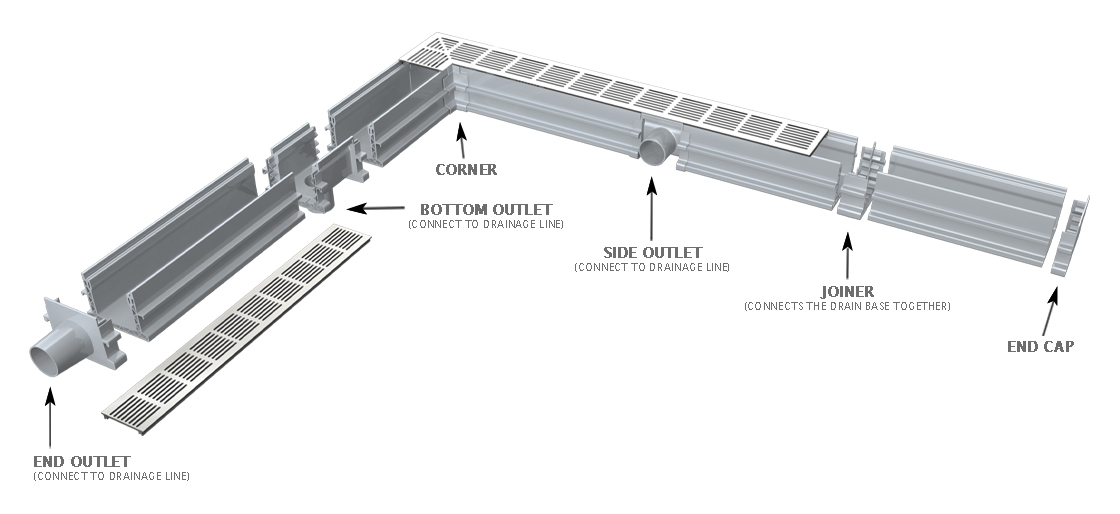
Once you have established the parts you need, use PVC glue to connect the modular drain. Apply PVC glue on each part that you are joining and as per your drainage design, fix right angle corners and the outlets in their correct position.
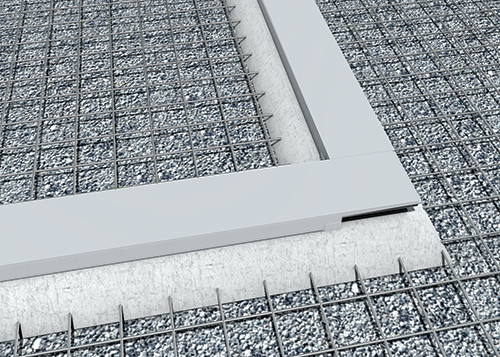
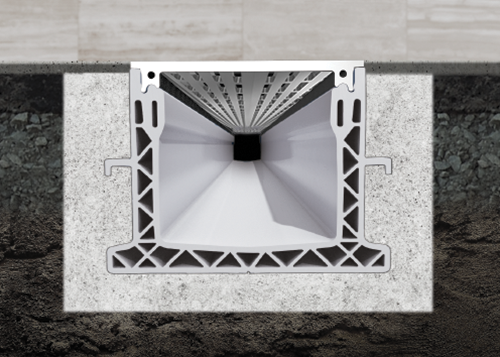
Once you have established the finished height and fall of the drain, haunch the Ultra Drain Plus into place. Use either a concrete mix or sand and cement ensuring that the construction cover insert stays neatly fitted at all times in the Ultra Drain Plus base.
DO NOT REMOVE the construction cover insert from the Ultra Drain Plus base until the tiling and concrete are fully completed.
Pour the concrete around the haunched base to the selected finished height required for your next step either tiling or finished concrete.
Ensure that the drain stays straight and clean at all times during the concrete pouring process.
DO NOT REMOVE the construction cover insert from the Ultra Drain Plus base until the tiling and concrete are fully completed.
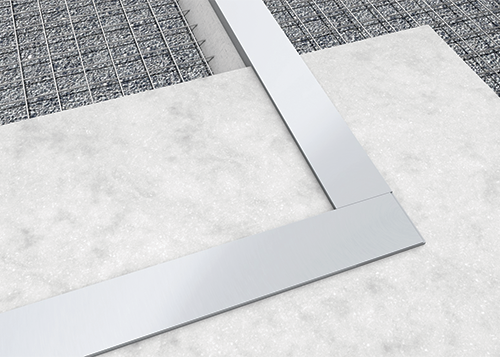
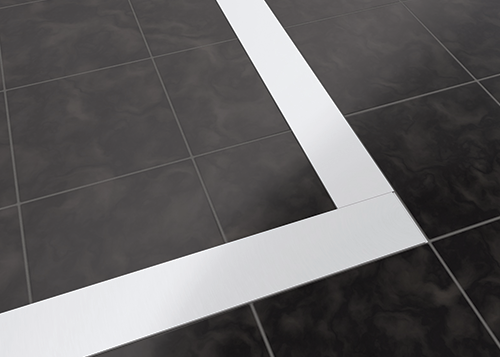
You are now ready to tile or put your selected finishing product in place.
We recommend that between your tile and the drain the use of a flexible product like silicone or polythene to avoid any possibility of movement between the two different products. A 3mm joint is recommended to avoid possible movement and cracking.
DO NOT REMOVE the construction cover insert from the Ultra Drain Plus base until the tiling and concrete are fully completed.
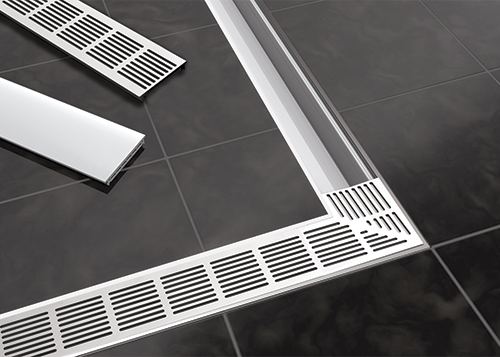
Your Ultra Drain Plus installation is now ready to be completed. Remove the construction cover insert and discard in an environmentally friendly manner.
Now clip the Ultra Drain Plus Alloy top into place. Start clipping from one end by gently pushing the alloy top into the plastic drain base.
If there is any cleaning required ensure that only pH Neutral products are being used. Acid or highly alkaline solutions may damage the alloy top.
Your installation of the high quality Ultra Drain Plus product is now complete and will maintain its unique sleek look for many years to come.
Sample Connection Diagram
WARNING
These channels are NOT intended for use where heavy vehicular traffic is present (over 5 metric tons).
Clean alloy top grating with pH neutral products only.